Why Most UV Tubes Fail (And How We Fixed Ours)
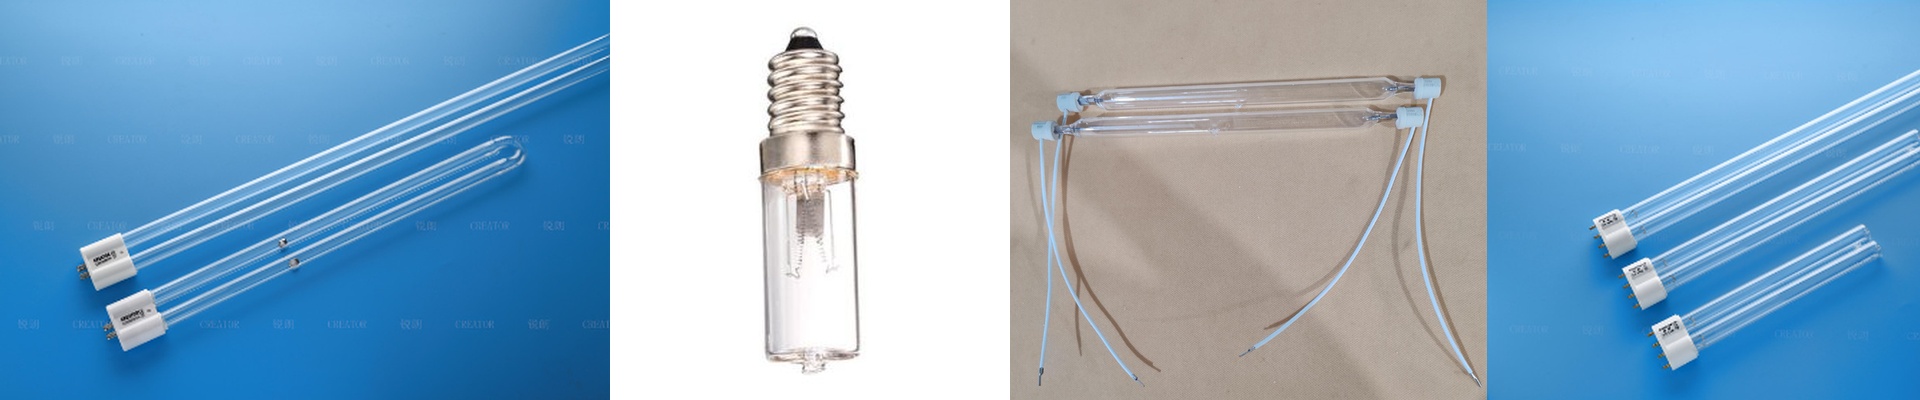
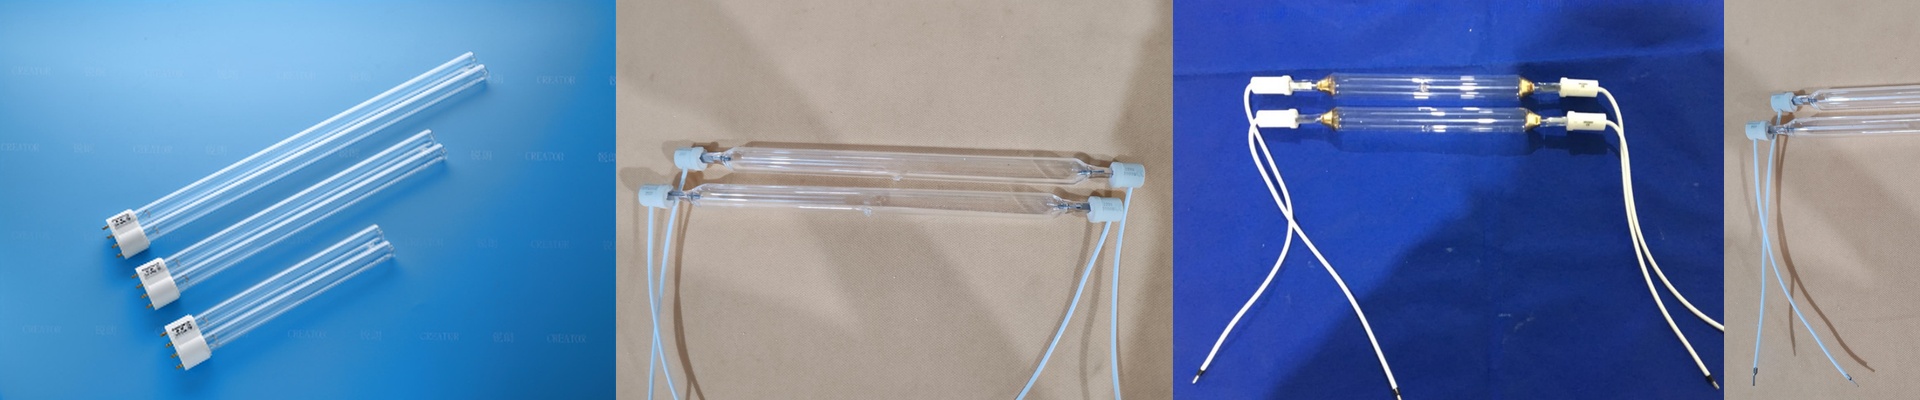
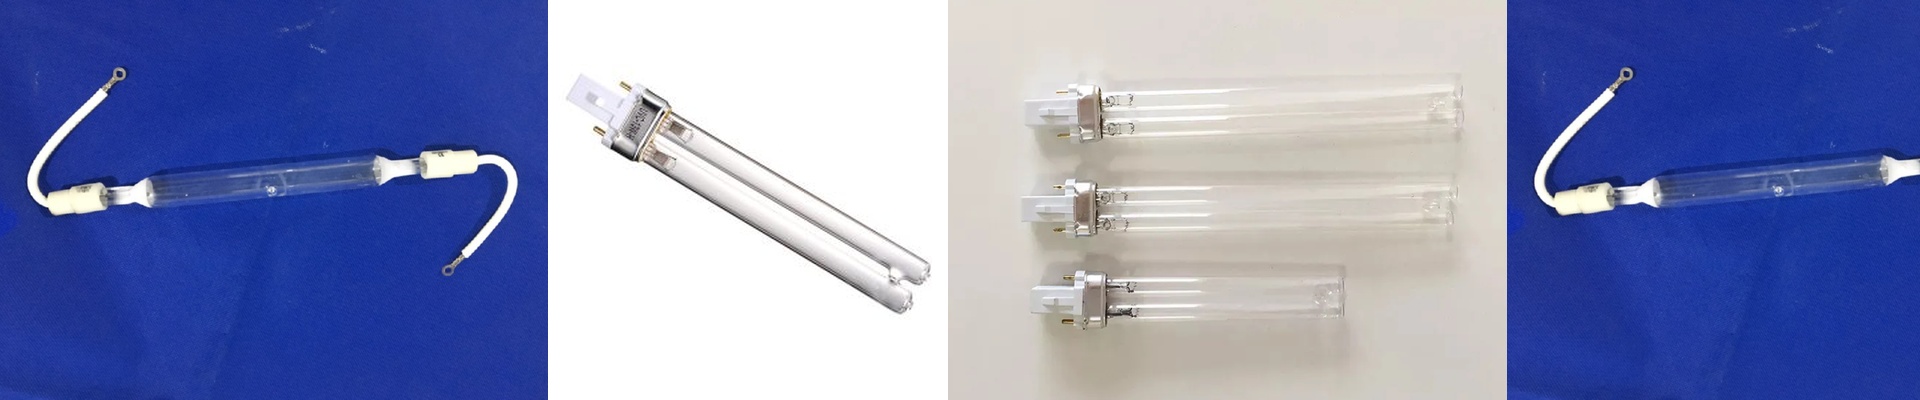
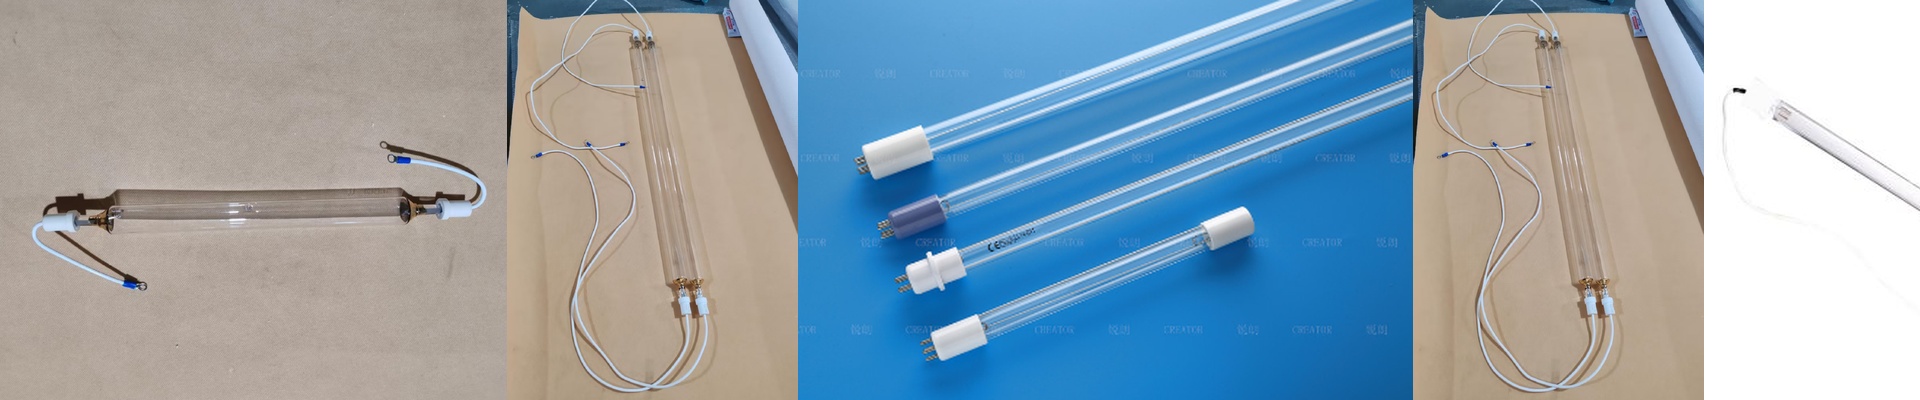
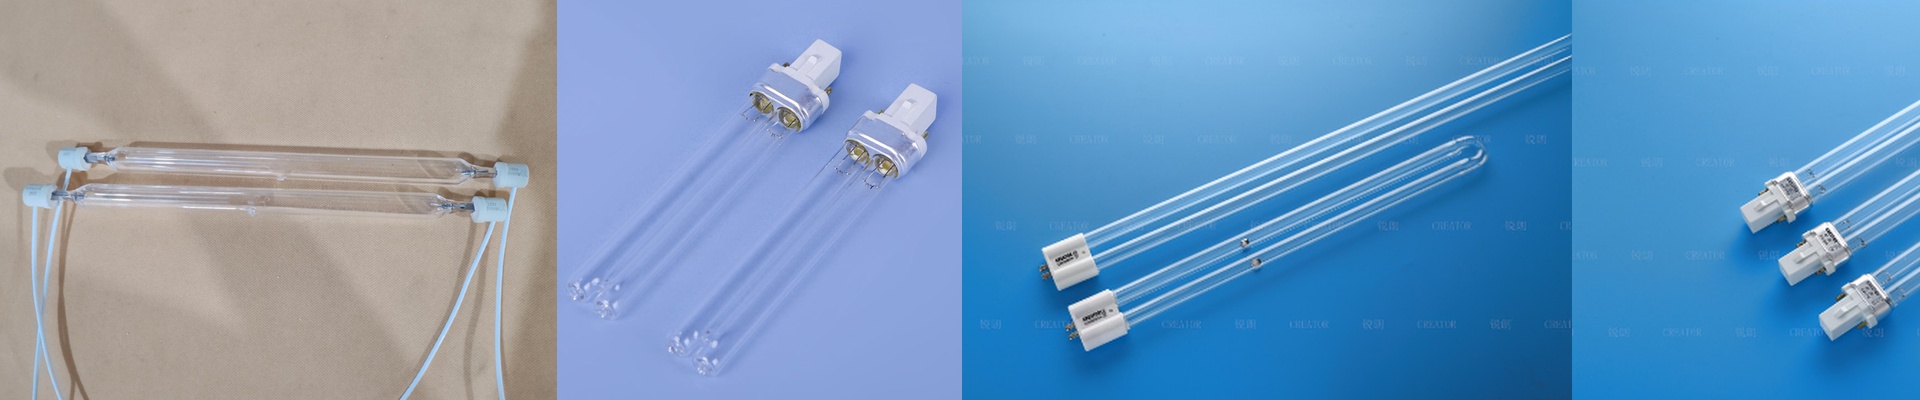
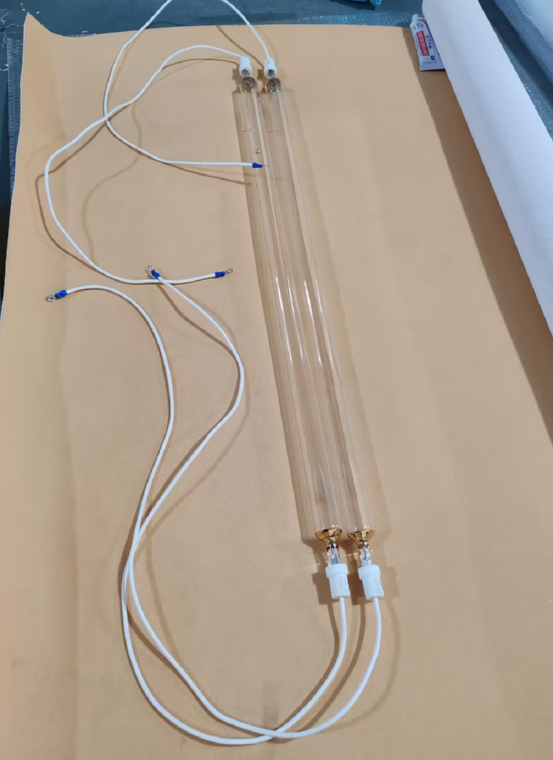
Let’s be honest: most UV curing lamps are a headache. They either flicker out too soon or the spectral output starts drifting, and suddenly your product isn’t curing right. It’s frustrating. We decided to stop guessing and actually fix the two things that kill these tubes: messy gas chemistry and cheap quartz. Getting the wavelength right We aren’t just throwing “UV light” at your project. That doesn’t work. You need specific nanometer peaks that actually talk to your photoinitiators. Here’s how we do it. We tweak the mercury vapor pressure and use a specific kind of quartz envelope to shift the spectrum. The goal? Getting those photons to actually sink into the coating. If your curing line feels like a space heater but the coating is still tacky, your wavelength is probably off. Our tubes stop the surface-heating and start the actual curing. Making them last Ever notice how UV tubes get all dark and cloudy at the ends? That’s electrode evaporation. It kills your intensity long before the gas is even gone. To stop that, we switched to thoriated tungsten filaments. It’s a simple change in metallurgy, but it works. We’ve watched these tubes hold a steady glow for thousands of hours without that annoying darkening. It just means fewer shutdowns for your team. The heat problem Now, a word of warning. High-intensity UV creates a lot of infrared heat. You can’t just ignore that. Our tubes give you the punch you need for fast line speeds, but they’ll bake your substrate if your cooling isn’t up to the task. Do yourself a favor and use a dedicated air-cooling manifold. If the quartz gets too hot, the seals will fail. Plain and simple. Getting started You don’t need to rip out your whole setup to use these. They’re designed to be drop-in replacements for standard industrial arrays. The footprints are tight. No rewiring ballasts. No messing with your reflectors. Just swap the tube, tweak your conveyor speed, and get back to work.