How Mercury Vapor UV Curing Actually Works
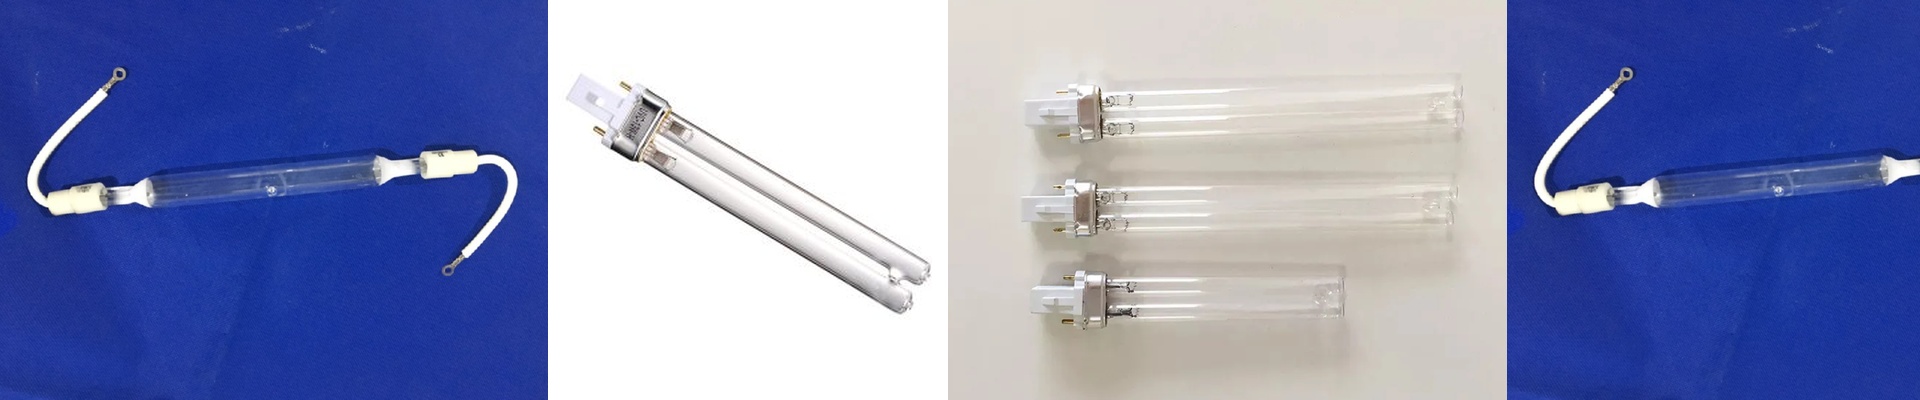
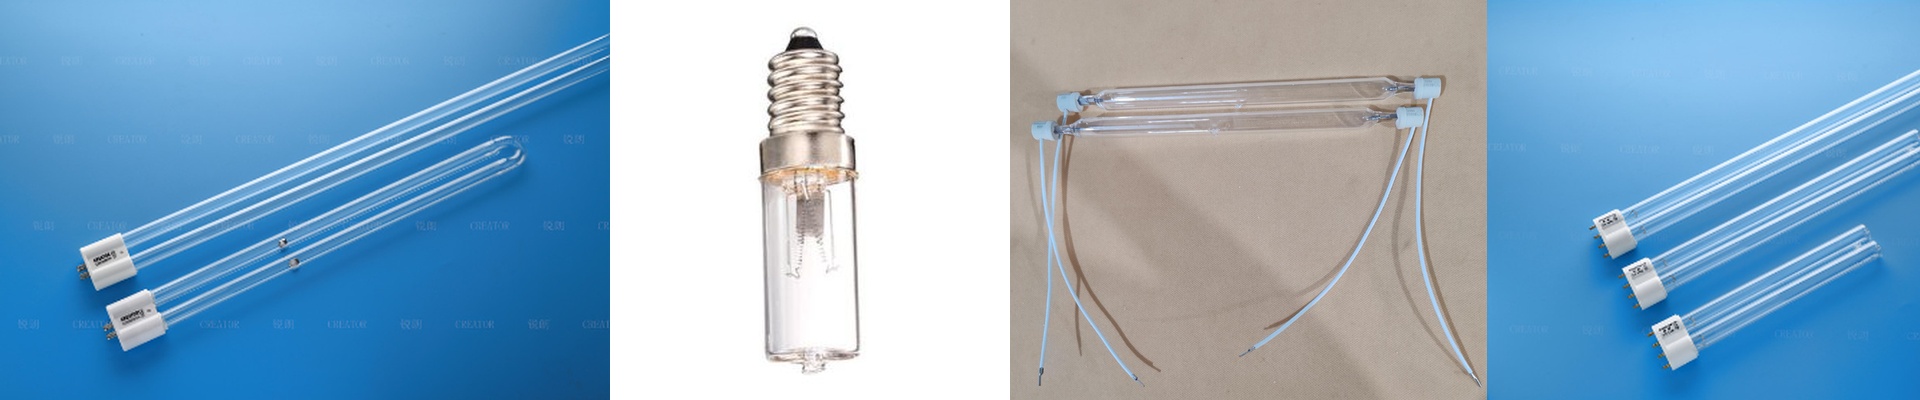
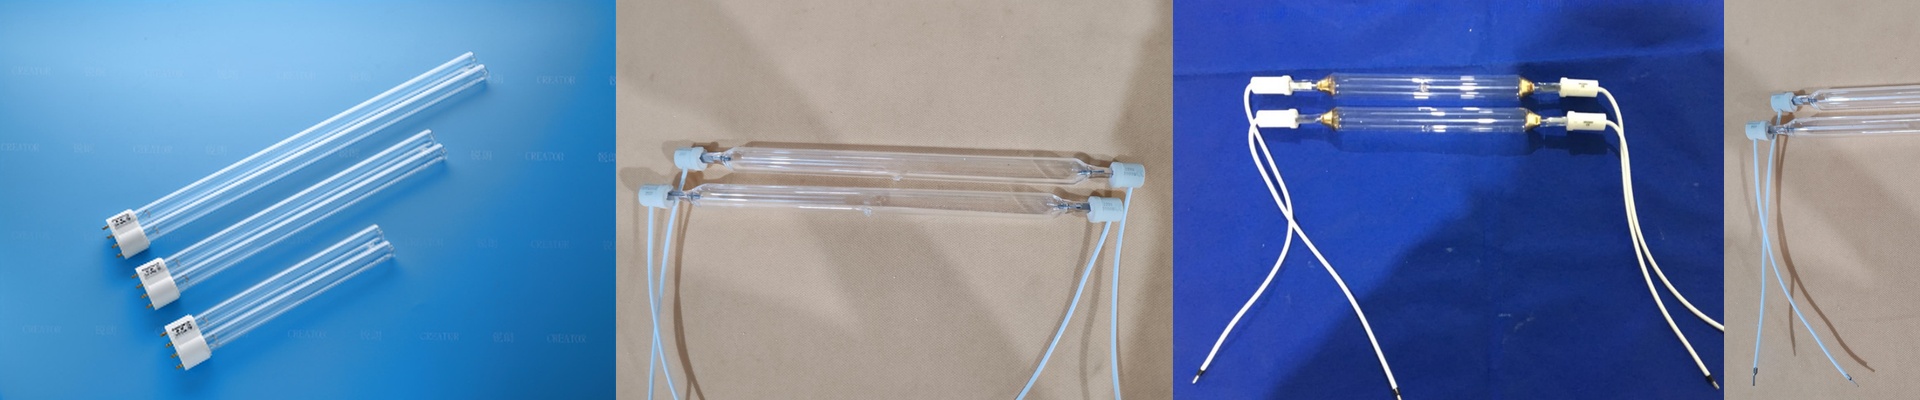
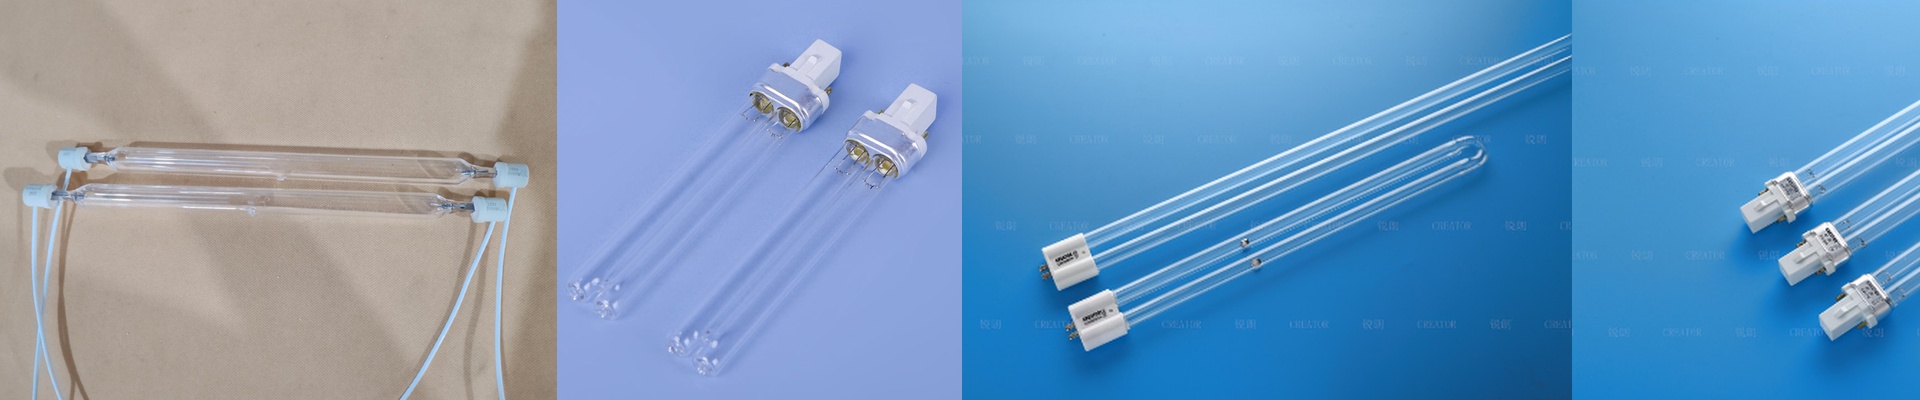
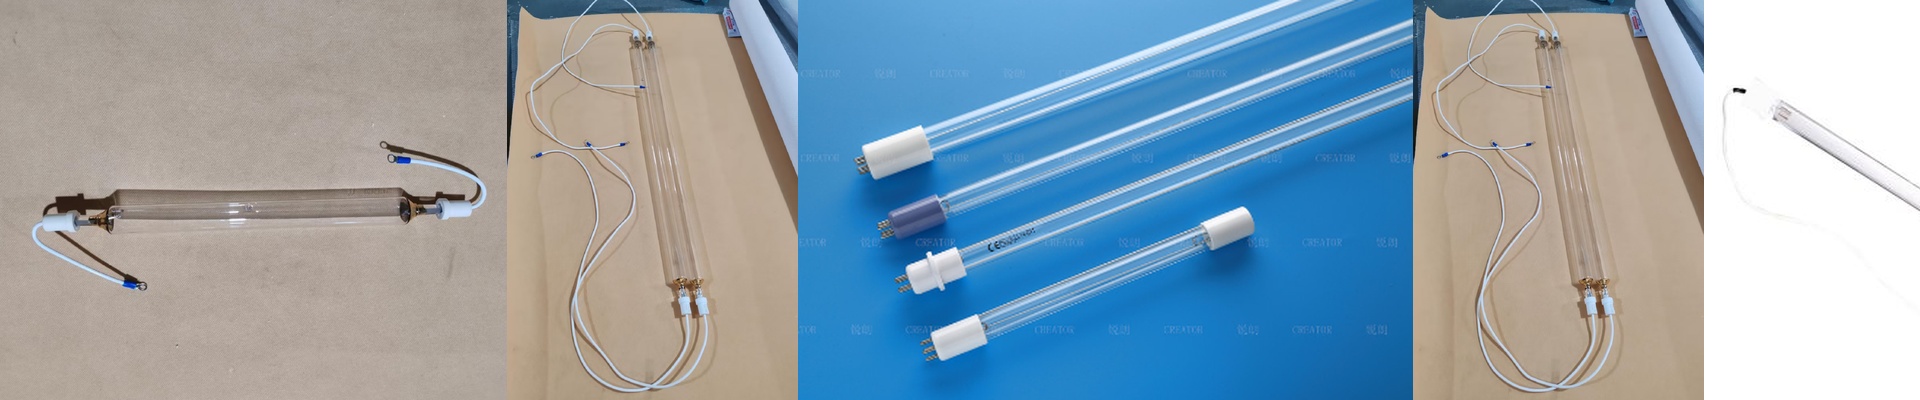
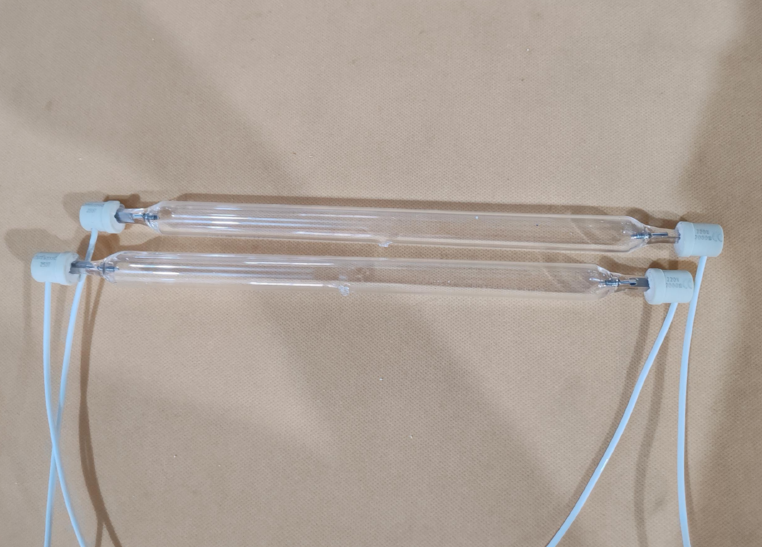
Ever wonder what’s actually happening inside one of these bulbs? It’s basically a gas discharge party. We take a fused quartz tube, fill it with a precise amount of mercury vapor, and hit it with a start voltage. Electrons start slamming into mercury atoms, pushing them into an “excited” state. When they settle back down, they spit out photons. Most of that energy hits at 254nm and 365nm—which is exactly what you need to get your coatings to set.
The Secret is in the Glass
You can’t just use any old glass here. Standard glass is a wall; it blocks UV cold. That’s why we use high-purity synthetic quartz. It lets those shortwave rays fly straight through instead of getting trapped in the tube wall. If the quartz isn’t pure, the bulb just gets hot and the UV output tanks. We’re obsessive about the glass specs because we want that 254nm line to stay strong for your surface curing.
Dealing with the Heat
Let’s be honest: these things gethot. Because the wattage is so concentrated, the quartz expands fast the second you flip the switch. This is where things can go wrong. If your reflectors are crooked or your fans aren’t pushing enough air, the tube can warp or the end caps can just burn out. If your cooling isn’t up to the task, your lamp life is going to plummet. It’s as simple as that.
Keeping Things Running
We built these to slide right into your industrial conveyors without a fuss. We even centered the electrical leads so you don’t have to worry about arcing against the housing. But here’s the thing: these bulbs don’t last forever. Over time, the mercury shifts or the quartz “solarizes” (basically clouds over), and your output dips. My advice? Keep a log of your hourly runtime. Once you notice the curing isn’t hitting the mark, swap the bulb.**Don’t wait for it to start flickering.**By the time that happens, your electrodes are already shot.